
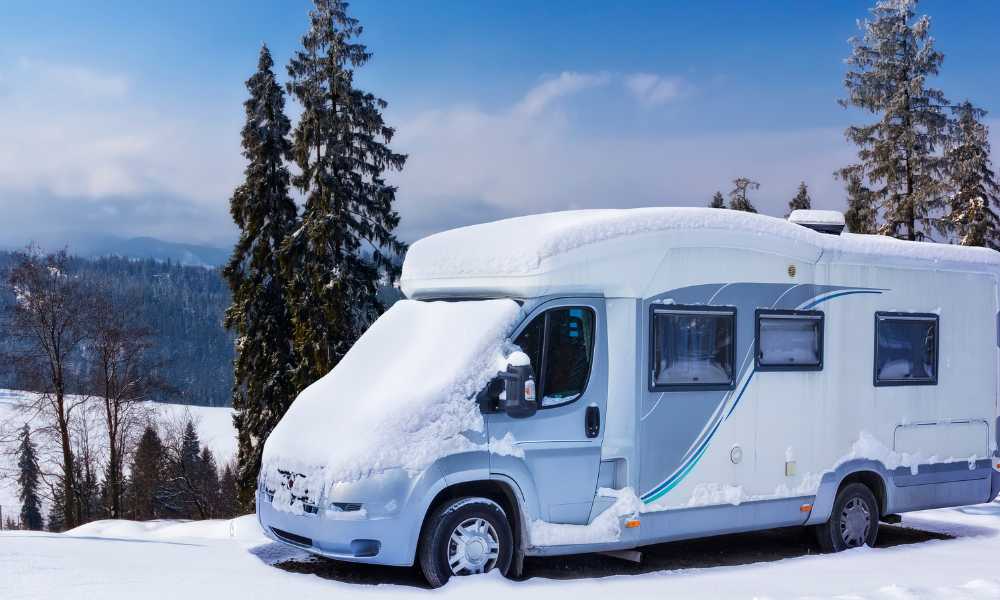
How to winterise a motorhome
A practical guide on motorhome winterisation from Caravan Information Services
Winter can be harsh, and the thought of cold, damp, mildew, frost, and even animal infestation motivates owners to discover how to winterise a motorhome.
This guide explains everything you need to know about preparing your motorhome to lay up for the off-season.
Follow the guide, and be in great shape for the spring. Moreover, you’ll comply with a typical insurance policy clause that requires proper motorhome winterisation in case of a claim for loss or damage caused by water freezing in a fixed water or heating system.
Draining the water system
Every water system component needs draining, including:
- Sinks and taps
- Shower heads
- Toilet systems
- Pipes and valves
- Water heater
- Water tanks
First, open all vehicle drain taps and valves, including the sink and shower taps. It’s also a good idea to remove the showerhead and hose first. You also need to empty your toilet cassette if fitted. Remember to disconnect the water pump connections. Trapped water inside your pump can expand when it freezes, damaging the components.
Open all heater valves and connections to allow water to drain completely. You’ll find the drain valves in the following locations depending on the type of boiler:
- Carva boilers have a drain tap on the outside of the flue cowl.
- Truma Ultrastore boilers have a yellow lever in or near the boiler compartment.
- Some Truma Combi boilers drain automatically when the temperature drops below 5°C; others drain manually if you see a yellow lever fitted.
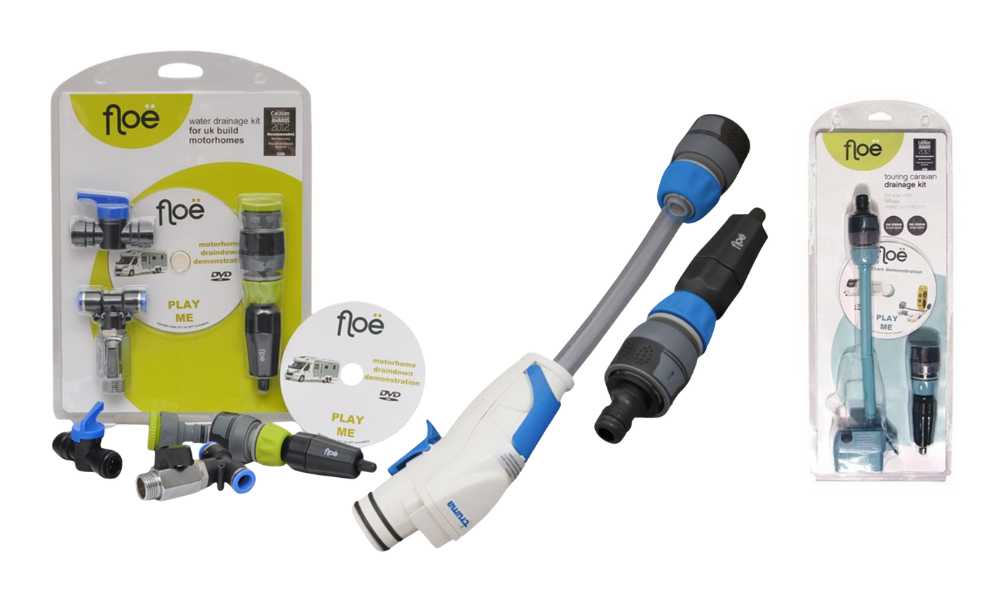
Top Tip! Consider investing in a Floe Drain Down Kit. These nifty devices use a 12V tyre inflator to pressurise the pipework and systems to force water out. Expect to clear up to a litre of residual water — plenty to cause damage if it freezes.
Keeping the leisure batteries charged
Batteries self-discharge within two or three weeks of non-use, and a fully discharged battery may be irreversibly damaged.
The approach to battery maintenance in the winter depends on whether you aim to store your motorhome on a secure site or at home.
Secure site
If you aim to store your motorhome on-site or in private storage for more than two weeks, a solar-powered trickle charger helps to keep the batteries charged. If you store your motorhome under cover, or the private storage site insists you remove the batteries, then keep the batteries off the cold floor in your garage and use a trickle charger to maintain the charge.
At home
If you can access the mains, hooking up once a week should keep the batteries charged. You may need the mains connected for up to 48 hours to charge the batteries fully. A mains-powered or solar-powered trickle charger is another alternative.
Go for a drive
Take your motorhome for a 2-3 hour drive whenever possible. A weekly drive means you won’t have to worry about additional battery charging. Moreover, running your vehicle up to temperature dries out the engine bay and the motorhome interior, prevents the brakes from binding, and prevents flat spots from developing on the tyres. If you can’t take your motorhome out every week, then two or three trips over the winter are better than nothing.
Now you’ve taken care of the drain down and battery maintenance, it’s time to work through the following winterisation procedures:
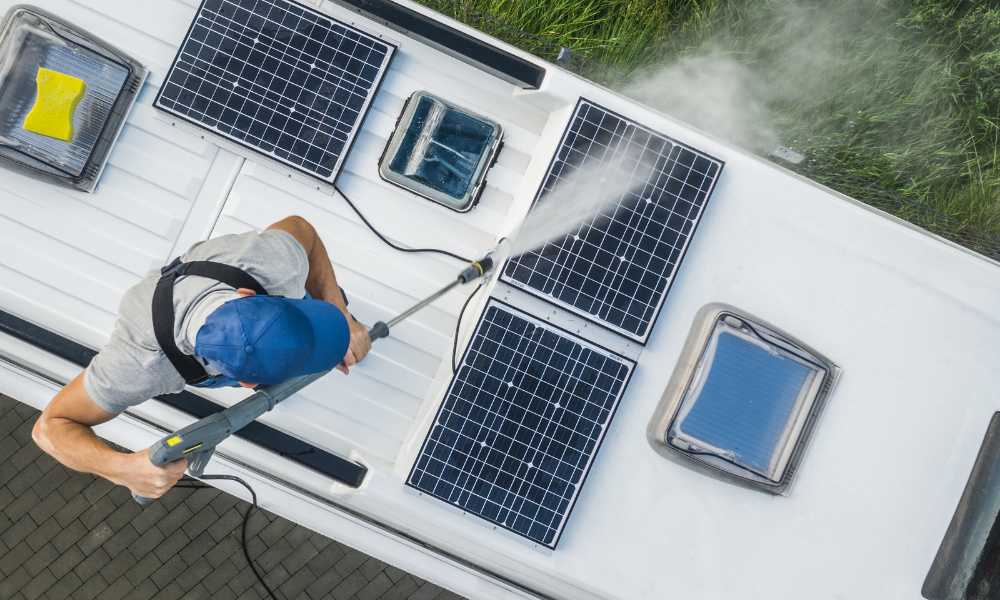
Exterior cleaning
Wash the exterior of your motorhome, including the roof, using a car or caravan shampoo containing wax. Pay particular attention to removing grime from the window and vent seals, as this is where black mould and moss can build up to cause water leaks.
Tyre care
Inflate the tyres to the maximum pressure. If you don’t aim to drive the vehicle for a month or two, add a couple of psi. to the pressure.
Handbrake
Leave your motorhome in gear, chock the wheels and release the handbrake. Handbrake mechanisms and cables have a nasty habit of binding when left too long without use.
Engine coolant
Top up the engine coolant and make sure the antifreeze ratio is correct. 50/50 water to antifreeze is the standard ratio, but increasing the antifreeze to 60% is fine if you expect an icy winter.
Top Tip! Engine coolant naturally dilutes over the summer as most people top up their coolant tank with water instead of an antifreeze mix. So, use a Glycol antifreeze tester to double-check the ratio — prices start at under £10 for a ball-type tester.
Windscreen washer tank
Top up the tank with a ready-mix solution or water and antifreeze concentrate. Activate the windscreen and rear window washers for 30 seconds to draw the concentrated solution through the pipes and washer nozzles.
Gas bottles
Switch off and disconnect gas bottles.
Ventilation holes
Check ventilation holes or vents for cobwebs, leaves, and other obstructions. Fresh air helps to manage internal moisture levels.
Fridge vents
Install fridge vent winter covers to prevent the rain, snow and rodents from getting in.
Curtains and upholstery
Closing the curtains prevents the sun from warming the interior and may give thieves the impression you have valuables inside the motorhome. Alternatively, drawn curtains may be susceptible to dampness and moulding over a long winter. The best thing to do with curtains is store them at home in a warm, dry place.
Vacuum, clean, and dry upholstery before placing cushions away from the walls. This will prevent condensation from spoiling the material.
Fridge and cupboards
Remove all traces of food and crumbs from the fridge and cupboards to prevent anything from turning mouldy. Then, prop the fridge door open to allow fresh air to circulate.