
A practical guide to awning cleaning and reproofing
Cleaning an awning helps to prolong the awning’s life and prevents the musty smell of mould from building up inside.
Awnings have a tough time with mud, algae, mould, tree sap and bird poop all having the potential to cause issues.
So, we recommend cleaning your awning thoroughly at least twice a year. Firstly, before laying your caravan up for the winter and again mid-season.
Packing away a dry, clean awning in the off-season prevents black mould from getting a hold, which can be virtually impossible to remove. Cleaning your awning mid-season helps keep things looking and smelling fresh while making the winter cleaning easier.
We also recommend spot cleaning whenever your awning gets muddy, or you notice mould or stains.
What you’ll need:
- a dry day
- hosepipe with a spray nozzle
- a bucket filled with warm water and a sponge
- telescopic brush
- the right cleaning products
- a reproofing product
- large plastic sheet (optional)
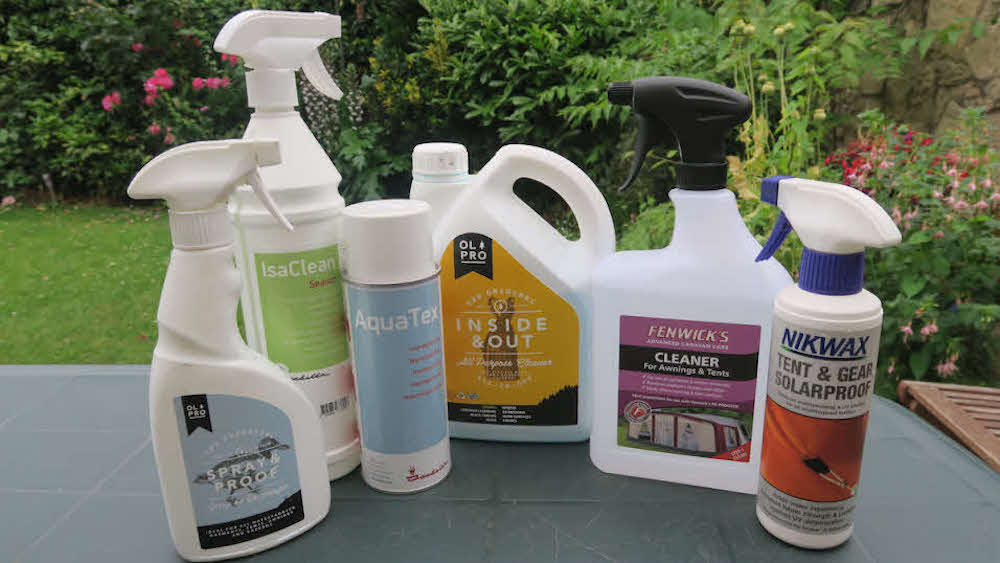
Top Tip! Always read the awning manufacturer’s cleaning instructions before purchasing cleaning products. Depending on the material, some manufacturers recommend specific products. Sometimes, there’s a different recommendation for the windows and canvas. Most advise against household detergents, which can damage the waterproofing and UV protection.
Awning cleaning start with the roof
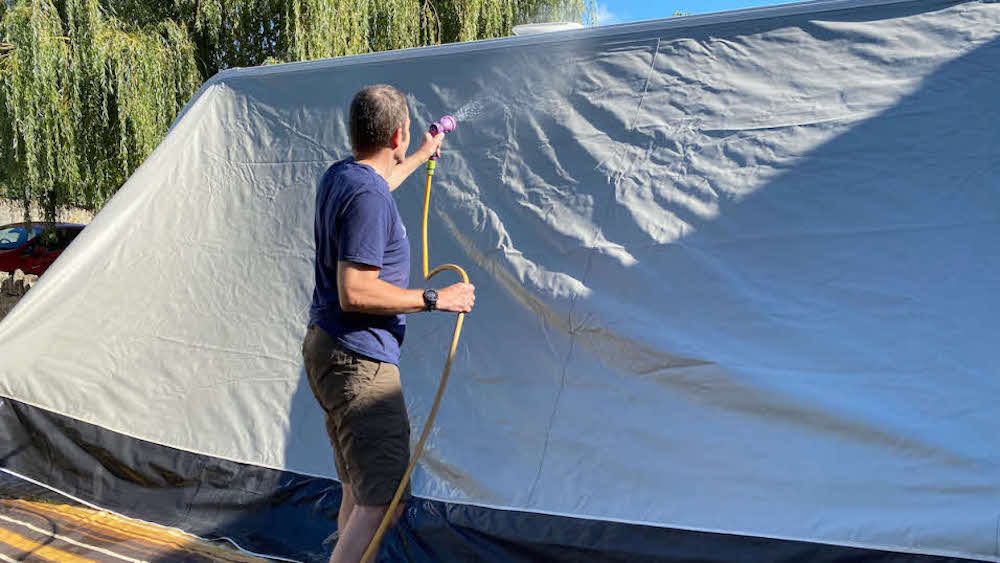
The roof is typically the most challenging panel as it soils the most. So start by feeding the awning onto your caravan and let it hang down the side. You’ll find this process much easier than trying to clean the roof of a fully erected awning.
Alternatively, you can lay a plastic sheet on the floor and clean the awning in sections on top of the sheet. However, this approach makes cleaning both sides of every panel difficult, as the sheet soon gets wet with dirty water and cleaning residue.
Next, use a soft brush to remove loose dirt, leaves and twigs. Then, soak the panel with a hose and repeat.
Now, spray with your chosen cleaning product and work the cleaner with a brush or sponge. Some products mix with water in a bucket, but the sponge or brush step is the same. You may need to repeat the process if the panel is heavily soiled. Also, pay special attention to seams and zips to ensure everything is clean.
Finally, rinse the roof section down with plenty of clean water.
Front and sides
The cleaning process is the same as the roof, but erecting the awning to clean the front and sides is more manageable.
Pegging the awning out also adds tension to the panels, making it easier to apply pressure with a brush or sponge.
Once again, pay attention to the zips and seams. These trap the rain, creating the perfect conditions for mould to grow.
Groundsheet
Cleaning the groundsheet is recommended to prevent mould, dirt or odour from contaminating your awning in storage. You can clean a removable groundsheet on the floor on top of a plastic sheet. Clean the underside first before flipping the groundsheet over to clean the top.
Reproofing
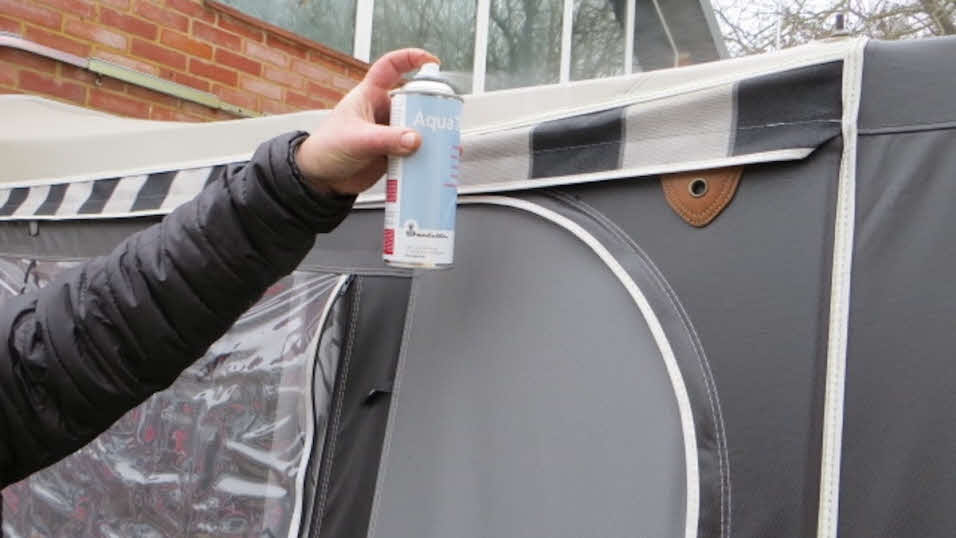
As you hose your awning, check if the water beads off. If it doesn’t, or if you see damp patches in the case of a canvas awning, then now is an excellent time to apply a reproofing agent.
Acrylic and natural cotton canvases use different reproofing products, so double-check the awning manufacturer’s instructions.
Also, read the instructions on the waterproofing product carefully. You can apply some products before the awning dries after washing, but the panels must be completely dry for others.
Either way, your awning must dry completely before being stowed.
Pitching up is always more enjoyable with a clean awning. And remember, the more times you clean during the year, the easier it will be.